Fifty years ago, no one could have predicted that a novelty item, given away as consolation prizes at raffles and sold in the back of comic books, would blossom into a bona fide art movement. Although there are many makes and models, the rediscovery of Toy Camera photography can probably be traced to the now legendary Diana camera.
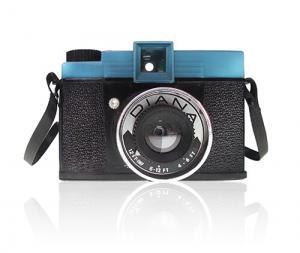
An early 60’s Diana — Photo by Greg Osborne
Introduced in the early sixties; the 120 format Diana was sold as a cut-rate, novelty item manufactured in Hong Kong and wholesaled across the US by the Power Sales Company of Willow Grove, Pennsylvania.
The Diana set the template for the low tech photography aesthetic. Characterized by its rudimentary spring-loaded shutter, manual film advance and most notably, a plastic lens, the camera performed about as well as its cheap, light-leaking plastic body suggested.
Not really a toy and certainly not a serious camera in any sense of the word, the Toy Camera was destined to become a temporary glitch in the already cluttered toy and novelty landscape. It was to photography what the Easy Bake Oven was to the world of household kitchen appliances—a TOY.
Something, however, derailed the Toy’s path to cultural obscurity—it took really cool pictures!
Though it’s always hard to pinpoint exactly how or when these things get started, I like to imagine that around the late seventies or early eighties, some anonymous soul remembered the visual thrills that this unassuming little box produced in their childhood photo excursions. In search of something without really knowing what, and perhaps weary of modern photography’s soul-deadening technology, he or she dusted off the old Diana and the Toy Camera Revival was born.
Professionals, amateurs and art lovers everywhere are fascinated by the equalizing nature of this little plastic box. No complicated accessories, no thousand dollar lenses, and no megapixels, help to strip bare the art and science of serious photography.
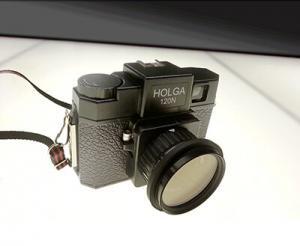
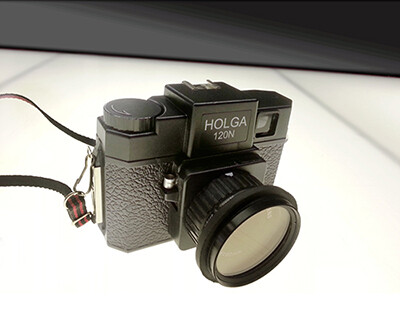
An owner-modified Holga. More serious looking than the Diana – but not really.
— Camera courtesy of John Harris — Photo by Greg Osborne
It comes down to the basics: your skill with the plastic box and your God-given EYE.
Yet, with that said, what many find so endearing about Toy photography is the way it lends itself so readily to the Happy Accident. It’s a little like handling nitroglycerine—or herding cats—you never quite know what’s going to happen. Many seasoned photographers wax poetic over the liberation from technology, the sheer sense of the unknown that this primitive tool allows them.
Aside from strict photo journalism, few other branches of photography are as distinctly purist in approach to their art. Though Toy Camera effects can easily be mimicked with apps like Instagram, Pixlromatic and Hipstamatic; and professional-grade programs like Photoshop and Painter, loyal adherents eschew these tricks in favor of recording, warts and all, that true moment in time.
The textured, sometimes haunting imagery that can be achieved with the Toy Camera so completely captures the ephemeral nature of life, that some professionals feel this pictorial offshoot captures the essence of what serious photography is and should be about.

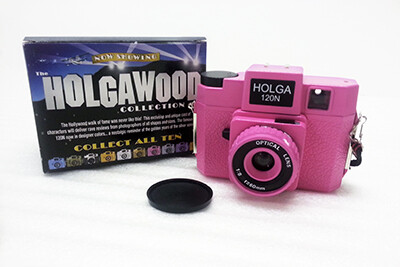
The Holga goes Hollywood! Camera courtesy of Stephanie Beck — Photo by Greg Osborne
With the addition of manufacturers and distributers like Holga, LOMO and Lomographische AG to feed the obsession, Toy Camera photography has evolved into a viable, worldwide, creative form.
Highly regarded exhibits at the Soho Photo Gallery in Tribeca, New York, and serious books like The Diana Show: Pictures Through a Plastic Lens by David Featherstone and the now classic, IOWA by Nancy Rexroth, also helped to legitimize and further the movement.
So what does Toy Photography have to do with Colorado? You might have noticed Reed Art & Imaging’s building at the corner of 9th and Federal, plastered with a melange of images—a few of which are great examples of what the Toy Camera can do.
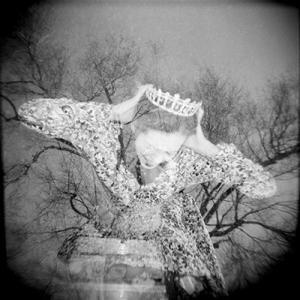
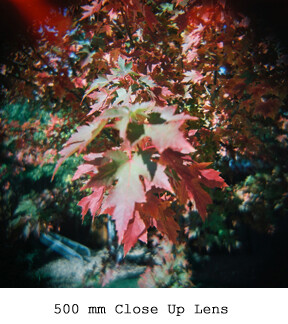
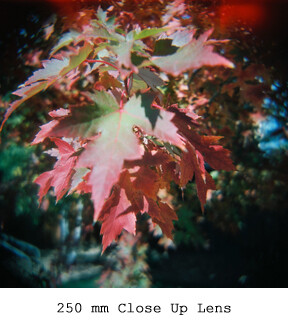
Amazing effects can be accomplished with the Toy
— Photo courtesy of Jody Akers
This was part of Reed’s sponsorship of this year’s Month of Photography (MoP). We also partnered with Mark Sink who founded The BIG PICTURE Colorado project here in Denver and who is a driving force in the local photography and creative scene.
Mark’s work and past association with people like Andy Warhol are well documented. What people may not know is that he has been a Toy Camera photographer and advocate since he was a boy. It was through his love for this process that he recently offered his Toy Camera Workshop to dozens of local enthusiasts. Reed Art & Imaging was fortunate enough to help out with film processing services for this worthy event.
Did I say film? Yes—Film is not dead!
We’ve been processing film for over 37 years and will continue to do so for as long as you need us. Of course, we do way more than simply process film. We encourage anyone who has not been into Reed Art & Imaging to come by and see for themselves the vast array of products and services that we can offer to creatives and non-creatives of all stripes.

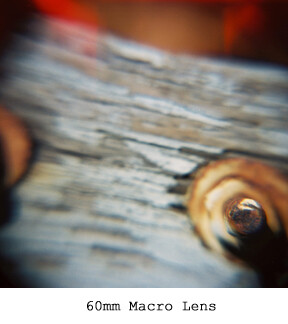
Photo courtesy of Jody Akers
We don’t just work here; we are working photographers, artists and enthusiasts. We live and breathe great images and great photography. Your creative vision is our priority. We are you.
Stop by and say hello. We’re here to answer questions, talk art and photography or anything else that you’re curious about—and that includes the light-leaking charm of the great Toy Camera!